We had our regular Monday and Friday workathons the last few weeks, mainly fixing up plywood bits and bobs.
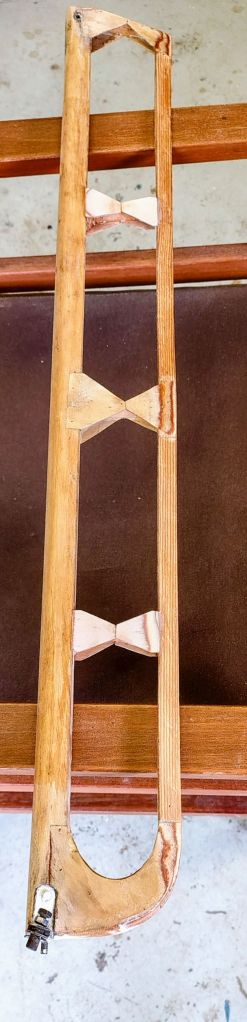
A real suprise awaited us after removing the fabric from the trim tab: a number of gussets and corner reinforcements had come adrift.
Thanks to Pete we had some suitable plywood to hand to make replacement gussets. Here is the repaired trim tab:

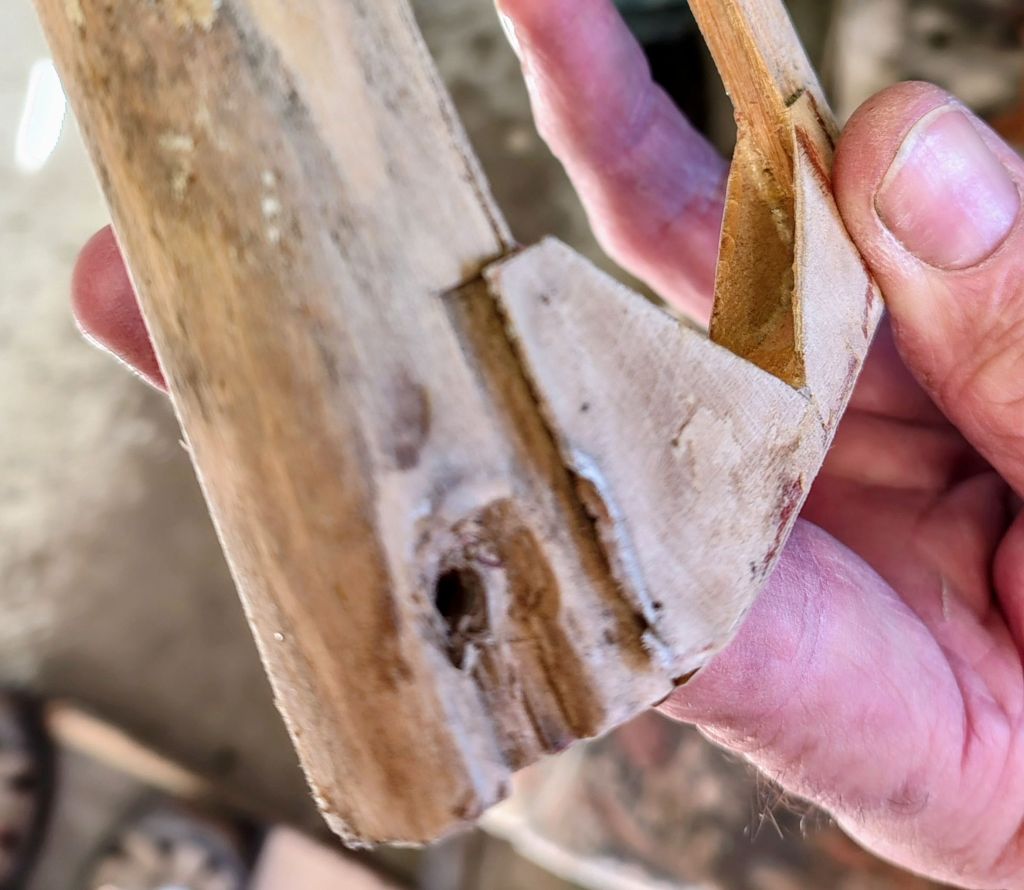
There were also a few corner blocks missing from the wing root hatches:
The bottom of the fin had to have some more surgery done, another job that extended over several days due to waiting for the epoxy to cure overnight.
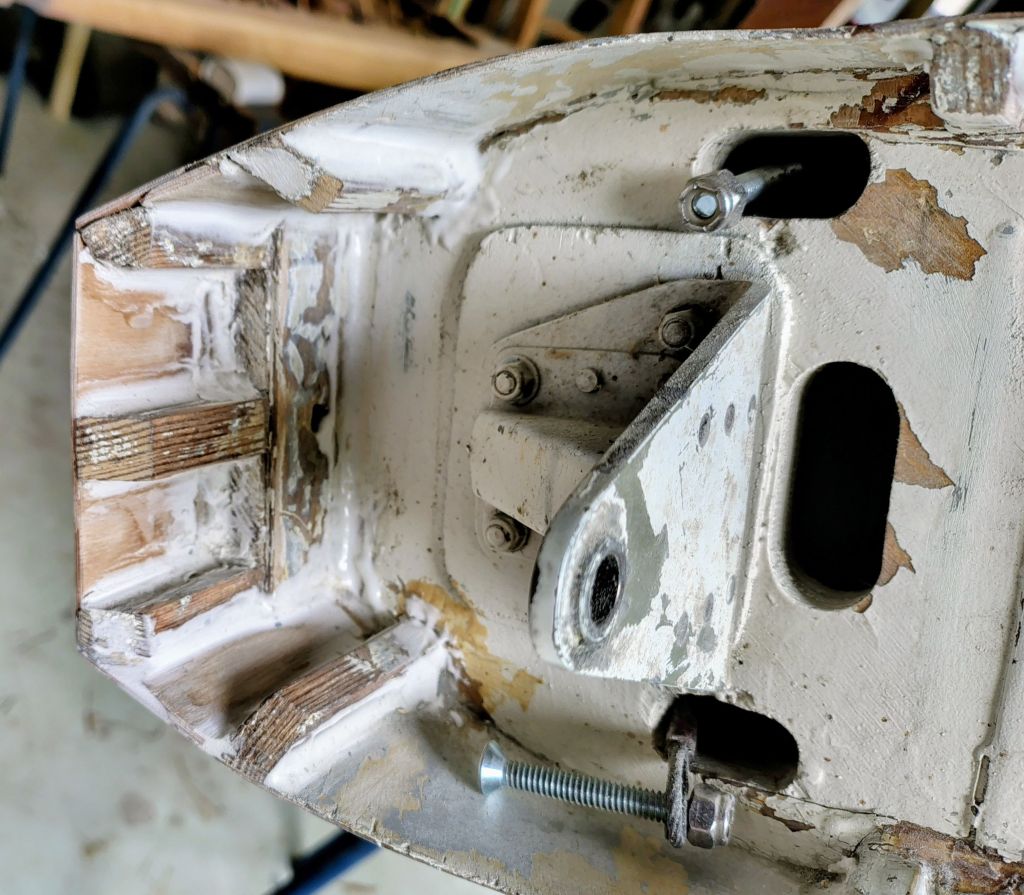
That left bottom corner still needs another bit of microballoon filling done, but overall we’re quite satisfied that these repairs will meet the required standard.
We’re just about ready for Pete to have an inspection and give us the go-ahead to commence the coating process.
We have bought the Norglass paints for the following scheme from Inspiration Paints (Dulux) in Warners Bay:
- Epoxy-sealing the fuselage and tail feathers with Norseal, one coat should suffice as the glider was epoxy coated at the factory in Poland.
- Primer undercoat for the fuselage, white, 2-component Shipshape. We’re allowing for 2 light coats.
- Finish coat 2-pack Polyurethane Northane. We have 2 litres of Satin White for the fuselage, again 2 light coats, as well as 1 litre of Reef Blue for the nose cone and canopy fairing.
Laurie will be away for 3 weeks from next Wednesday and Liz and I are also going on a weeks holiday starting on 24. Oct. so painting won’t start until we’re all back again.
Maybe I can roll/brush on the epoxy seal coat before I go away if I can get Pete to do the inspection next week.
We’ve decided to go with the Oratex system for the fabric of the tail feathers, mainly because the Polyfiber system would take 3 months to get here as it can’t be airfreighted due to the dangerous goods regulations. Having used the Polyfiber system on my seaplane wings and tail feathers, I won’t mind not having to cater for spraying nasty chemistry all over the shop. Having said that, no doubt the Oratex system will require a steep learning curve, but hopefully doing it patiently by the book should give a satisfactory result.
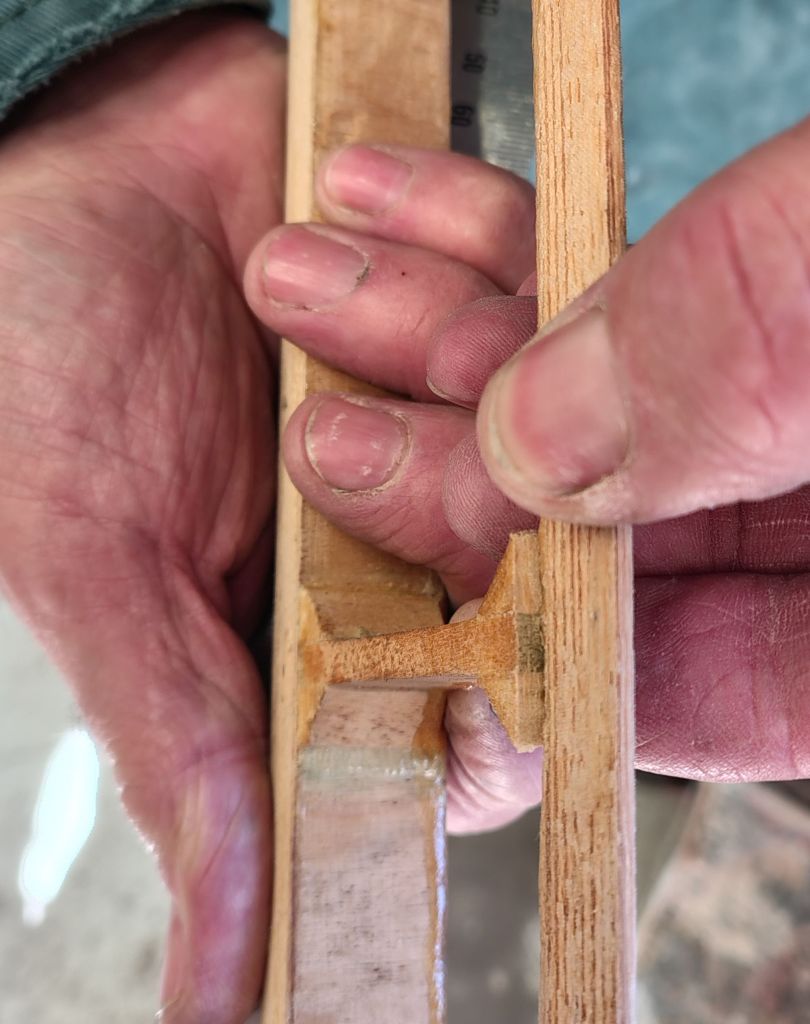
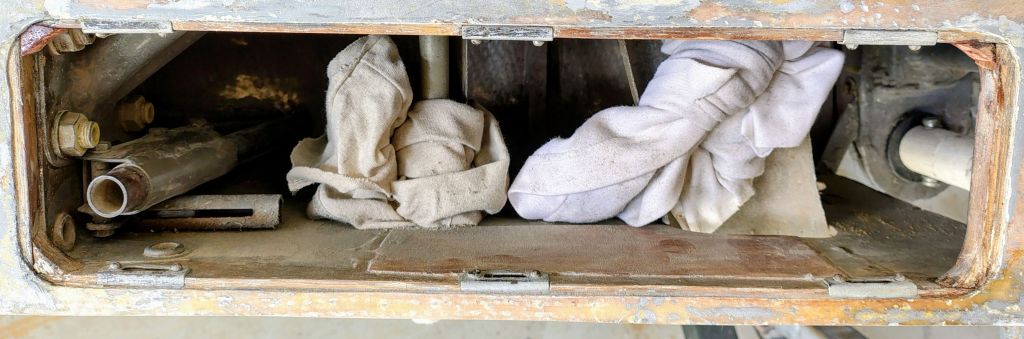
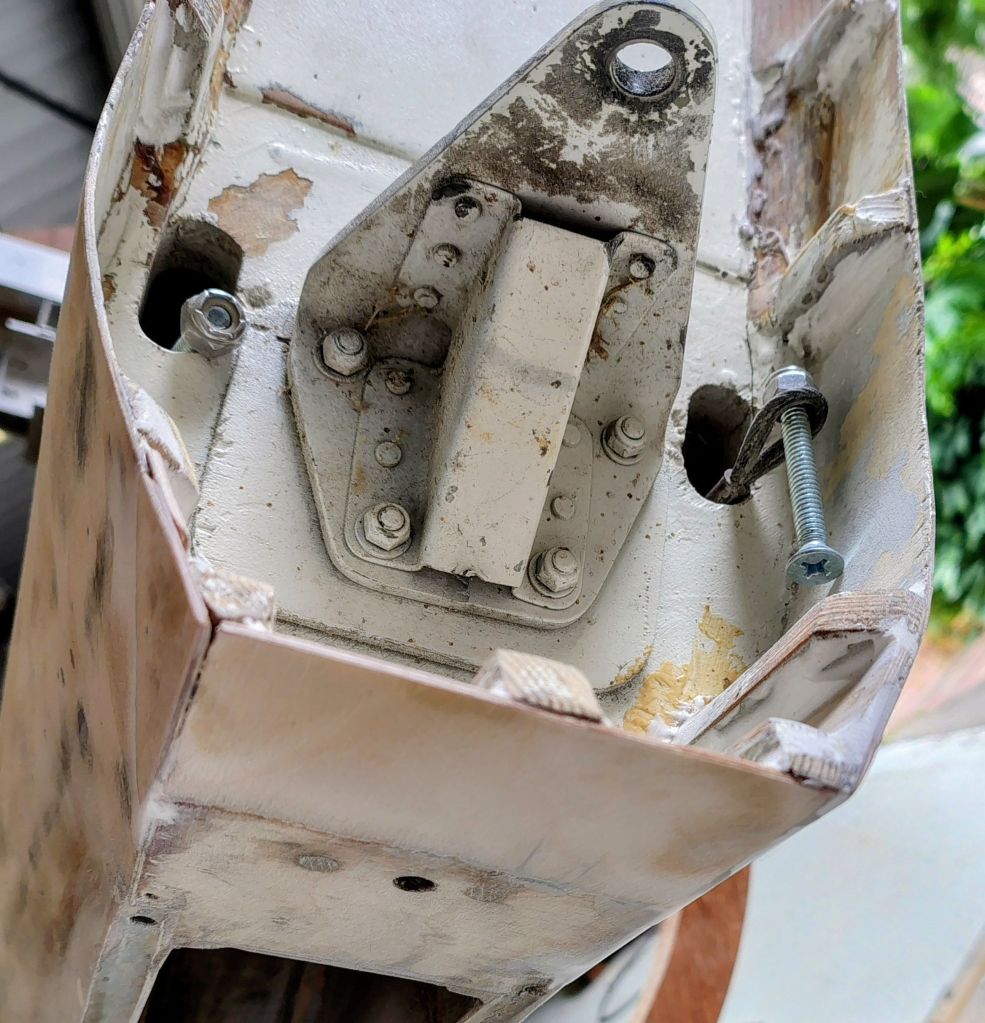
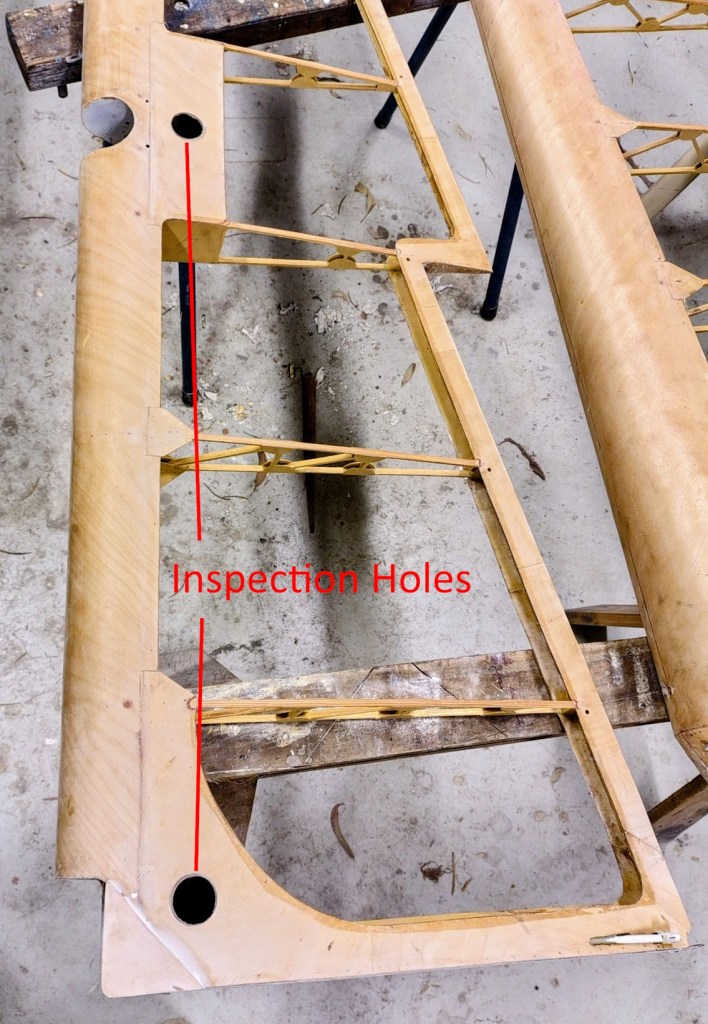
We needed to inspect the elevator torque tube bracket as one of the nuts was found to be loose. After cutting a couple of 40mm holes to gain access into the back of the bracket bolts we found the arrangement as described below.

The above mentioned trim tab recess repairs have been done. We’ll ask Pete whether it’s ok to fabric over the 40mm inspection holes. They might be handy for future inspections, and easily re-covered with Orotex – one of the advantages of that system compared to conventional systems which need to have the various paint and chemical layers washed off and then re-applied following the inspection/repair procedure.

Leave a comment