The battery setup is as good as finished, bar a few wire supports.

This is the battery in its tray and with the antenna fitted. It can be installed in this configuration, taking care that the lower antenna section is inserted between the control cable runs in the fuselage.
Before fitting this assembly I cleaned and checked all the connections underneath the battery shelf, and lubricated bearings, bushes and fairleads with white lithium grease.
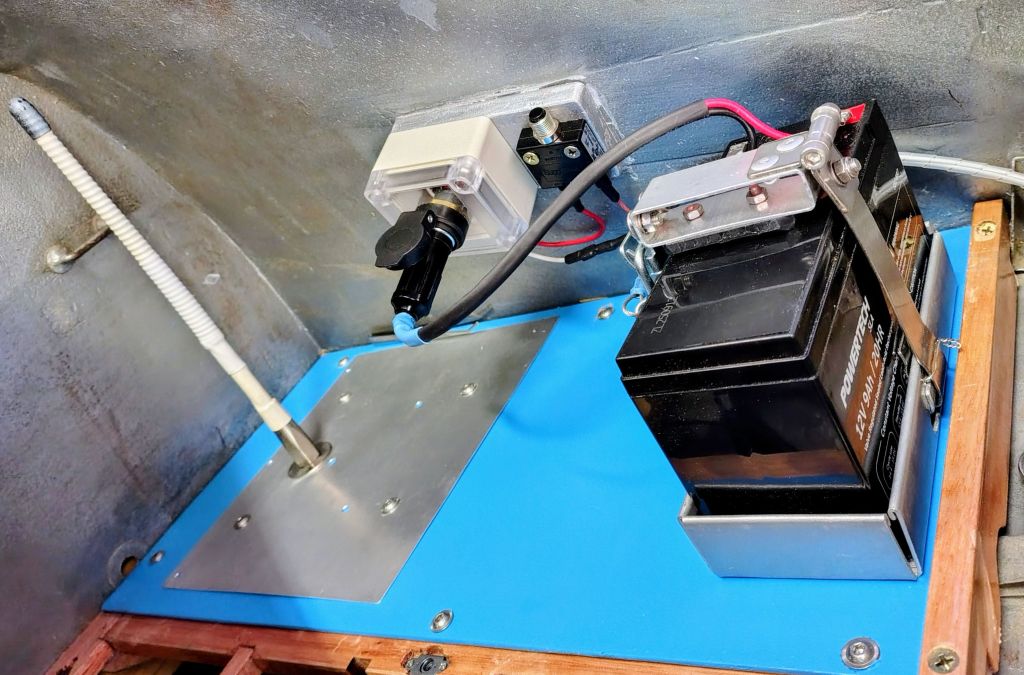
The battery plugs into a socket located inside a small plastic box, which is screwed to a 10 mm thick timber support strip that was epoxied to the sidewall of the luggage compartment. The circuit breaker is also screwed onto that timber strip.
When I plugged in the battery and tested it by flicking on the Master Switch and Battery 2 on the selector switch, the vario, radio and voltage indicator all came to life, with the voltage reading 12.7V – the “as bought” condition.
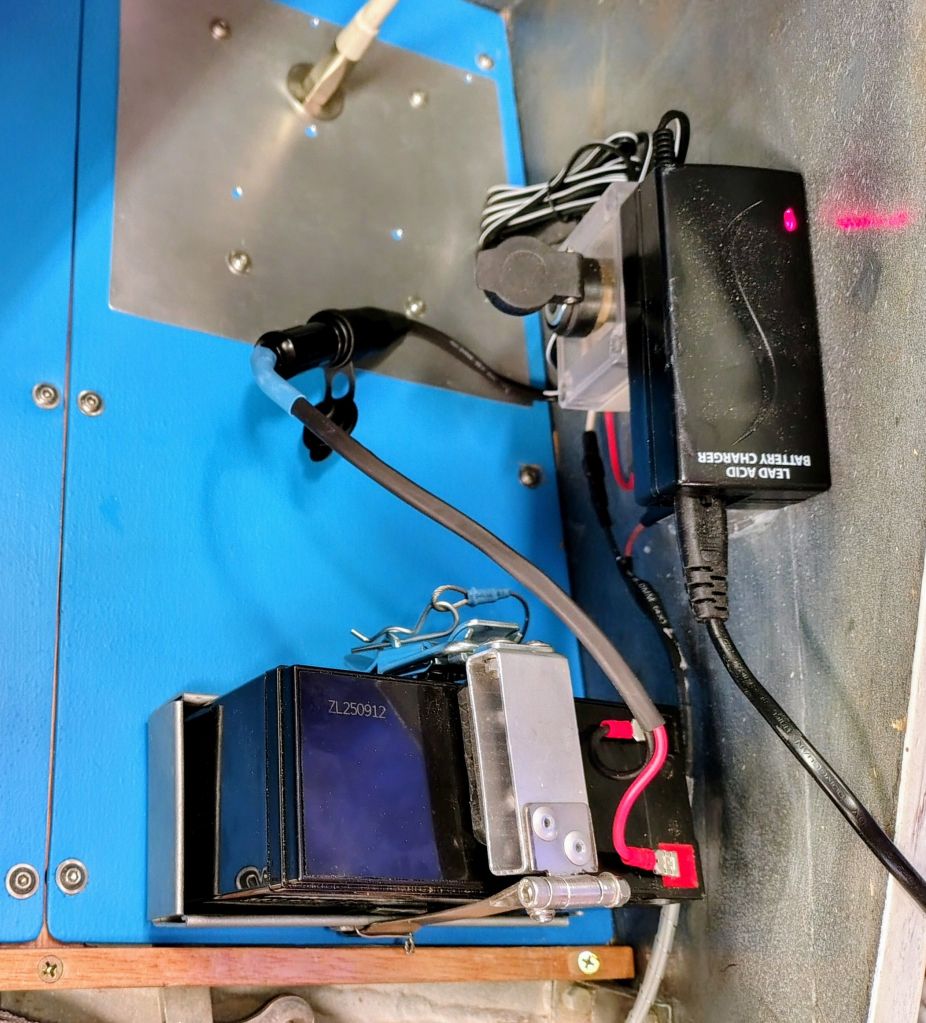
The above picture shows the system connected to the charger, with a red light indicating that the battery is accepting the charge.. When I called it a day it had completed charging, indicated by a green light on the charger. Testing with the volt meter on the panel showed 13.4V.
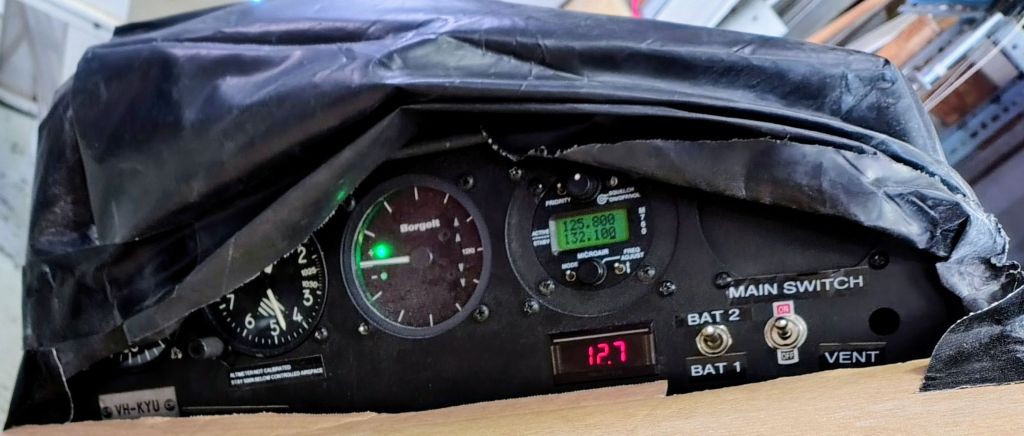
That’s a pic of the panel with voltage at 12.7, before I put the charger on.

Leave a comment